How to Prep Your Sprayer for Spring ft. @TractorMike | Enduraplas®
Expert Guides
•
4m 49s
In this video we have Mike Wiles from the @TractorMike YouTube channel giving us a 6 step guide on getting your chemical sprayer ready for spring. This essential guide is a "go to" if you want to keep your sprayer in great condition and get excellent results when spraying. These 6 steps are relevant whether you have an ATV sprayer, UTV sprayer, tractor sprayer, or tow behind sprayer.
6 ESSENTIAL STEPS: GETTING YOUR SPRAYER READY FOR SPRING
YOU WILL NEED
9/16” SOCKET WRENCH
1/4" SOCKET OR SCREWDRIVER
PLIERS
5 GALLON BUCKET
CLEAN SHOP WRAG
FRESH WATER
WET/DRY VACUUM
#1 VISUAL INSPECTION
Start with a visual inspection of your sprayer.
The reason is that over the winter hoses can crack.
Bolts may have come loose from sprayer vibration.
Or a varmint may have found its way in to your sprayer.
Then go around and tighten up everything on your sprayer.
This will help prevent any problem before it occurs.
Check the air pressure in the tires on your tractor, UTV, or trailer sprayer.
Having even tire pressure will help prevent uneven application.
#2 CHECK YOUR TANK
Before checking inside your tank, make sure it is completely drained.
Often there are bits of residue or debris inside the tank.
They will try to come out the nozzles and may clog up the system.
So, clean out your tank using a wet/dry vacuum.
#3 CHECK YOUR ENGINE AND PUMP
Check the engine to make sure you have engine oil.
Sometimes people leave old fuel in their engines and it gums up and clogs up the engine.
Make sure to check the gas tank, remove any old gas, and put fresh gas in.
Check the pump to make sure it spins freely.
Make sure the pump is flushed out before you test it.
#4 CHECK YOUR NOZZLES
Nozzles wear and clog over time. Get them all cleaned out.
If you use your sprayer a lot, you may want to replace them each spring.
Pro Tip: Replace any nozzles that are spraying more than 10% of the original output.
#5 RUN WATER THROUGH YOUR SPRAYER
Fill your tank with water and test it.
Do not add chemical to your sprayer yet.
If there are leaks it will be wasted.
If you find any leaks while testing, get those fixed.
#6 TEST YOUR SPRAYER IN THE FIELD
Take your sprayer for a test out in the field.
You may find something you missed before that you can fix before spraying with chemical.
_______________________________________
Here at Enduraplas.com we strive to be the trusted resource for superior liquid management when and where you need it.
Visit our Website: https://enduraplas.com/
Visit our Blog: https://enduraplas.com/blogs/
Social
https://www.twitter.com/enduraplas
https://www.facebook.com/enduraplas
https://www.linkedin.com/company/enduraplas/
https://www.instagram.com/enduraplas
Up Next in Expert Guides
-
Sprayer Maintenance 101 ft. @TractorM...
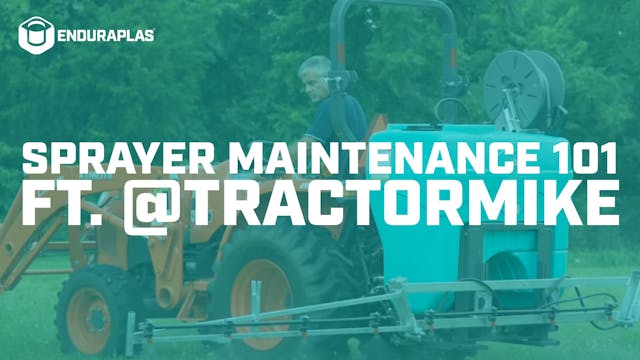
Today we're going to talk a little bit about sprayer maintenance with @TractorMike
Every time I use the sprayer I want to do some basic things to make sure that I don't get to the field and have a problem.
I want to do a visual inspection. Look for hoses that are maybe starting to weather crac...
-
Boomless vs Boom Spraying ft. @Tracto...
A complete guide to boomless vs boom spraying and how to choose the best option for your chemical sprayer brought to you by Enduraplas and Mike Wiles from the @TractorMike YouTube Channel.
BOOM SPRAYING VS BOOMLESS SPRAYING
Booms fold out and have nozzles close to the ground
Boomless are nozzl... -
7 Ways to Stop Herbicide Clogging Up ...
In this video with @TractorMike we cover seven ways to stop herbicide clogging up your sprayer.
0:00 Intro
0:17 #1 Don't Mix Chemicals
0:37 #2 Clean Your Sprayer Often
0:54 #3 Use Agitation
1:17 #4 Clean the Nozzles Often
1:49 #5 Fill Using Clean Water
2:11 #6 Check Your Filters Regularly
2:35 ...


